
How to get the most value out of your Trad Leading Course
Traditional climbing is one of the most unique experiences in all of the outdoor sports world. Nearly all rock climbing terrain is unlocked because now you can show up at any crag and begin climbing with the gear you brought.

But how do you learn to lead trad? There’s a steeper learning curve than sport climbing, more gear to buy, and more technical skills required, especially in multi pitch climbing.
You have to build anchors, belay your followers, and evaluate routes you are about to climb. And all of that is, in addition, to physically climbing the route! A full day of trad climbing is exhausting physically and mentally.
The traditional climbing course with Blue Ridge Mountain Guides is designed to cover the skills required to jump-start, or improve your trad climbing career. In 2019, I took the trad climbing course with BRMG. I had an excellent time learning technical skills and climbing routes that had been on my “todo” list.
Today, I have a few tips for you so you can get the most out of your time on the course. Let’s go over how you can get the most value out of the course.
Who is this course for?
This course is for climbers interested in learning all about traditional climbing. It’s best suited for climbers who already have a considerable amount of outdoor climbing experience. The more experience you have outdoor climbing, the more time you can spend going over trad climbing skills.
When I took this course, I already had a few trad leads under my belt! I had a lot of experience setting up top rope anchors at Great Falls Park, leading and cleaning sport climbs at the New River Gorge, and even sent an outdoor bouldering problem or two. Coming into the course with some experience gave me an idea of my weaknesses and what I specifically wanted to work on during the course.
What to expect
My favorite part of the trad course is that the content in the course is tailored directly to you. The morning of the course, my guide, Grant, and I spent some time in the parking lot at Seneca Rocks. We reviewed our gear and identified objectives I had in mind.
I had three goals for the course: improve my gear placements, practice falling, and climb the route Critter Crack.
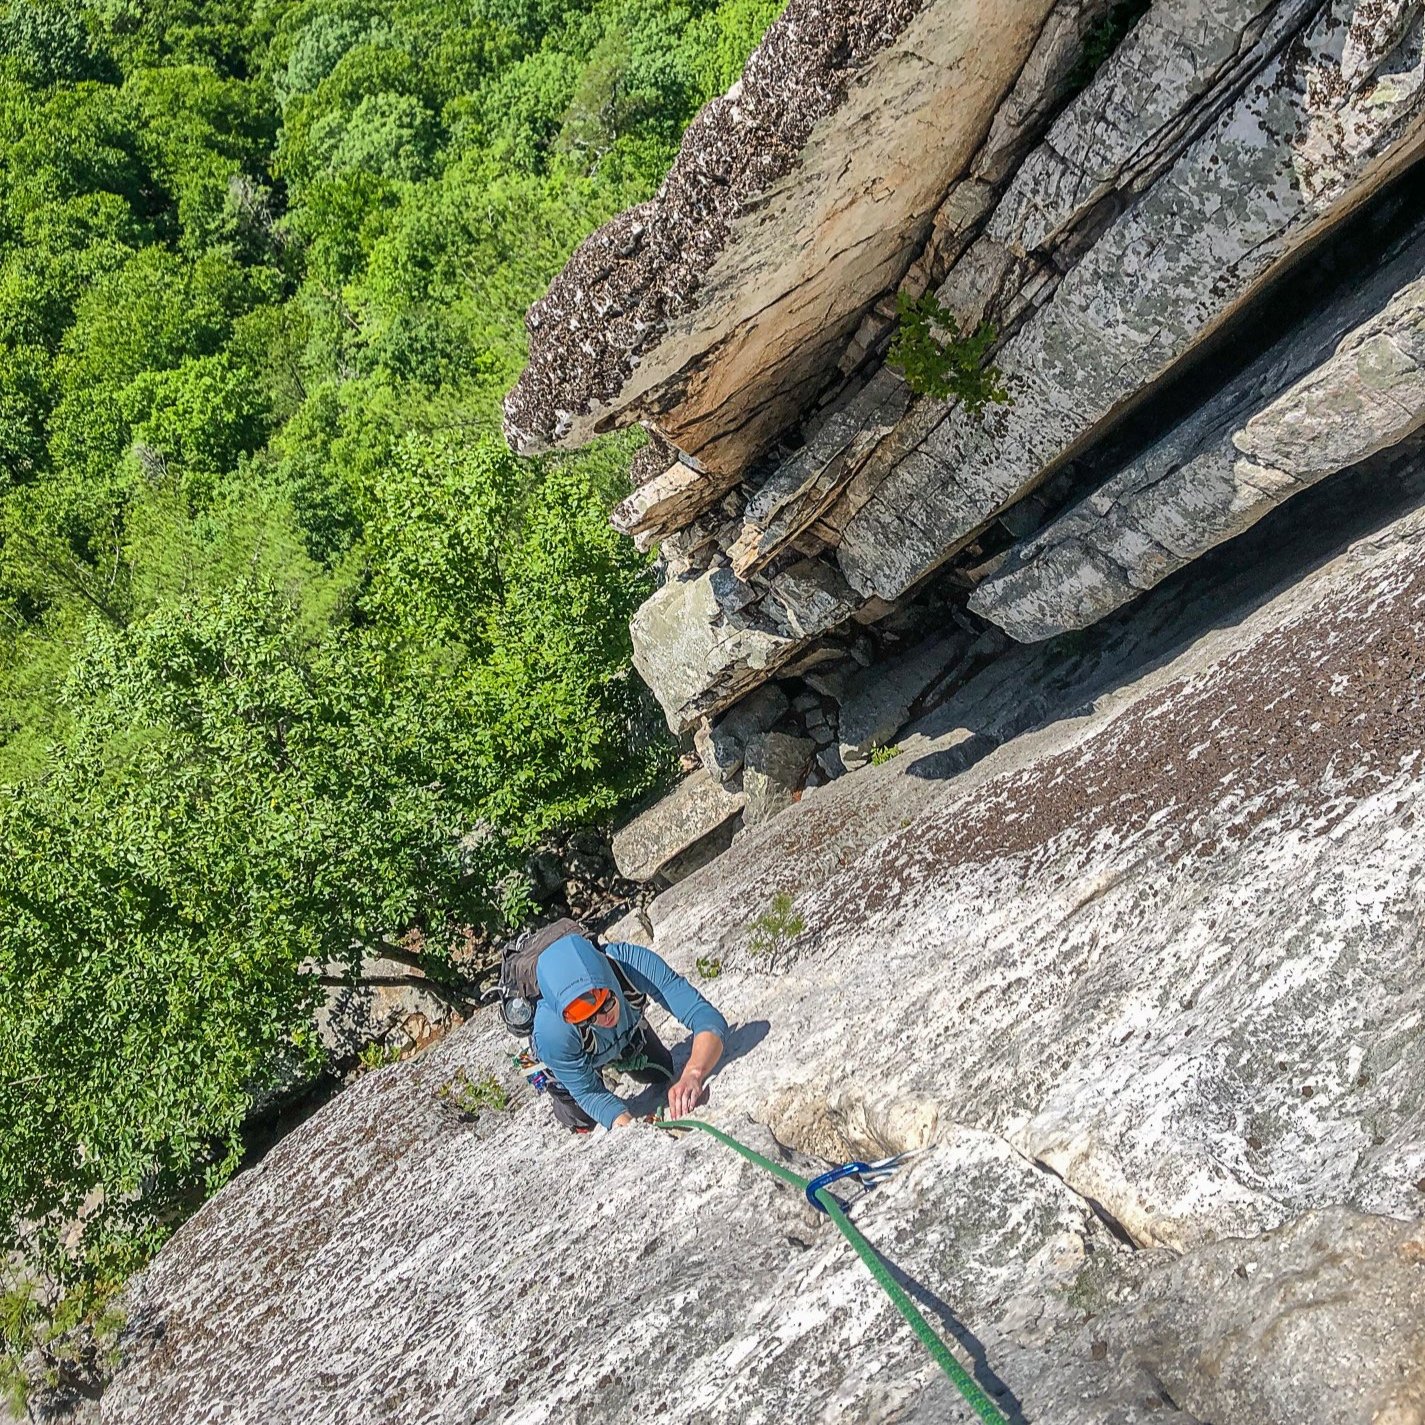
Once we had our objectives, we hiked straight to the crag and started reviewing gear placements. We looked at how to make a good placement and the difference between marginal, good, and excellent placements. I then tied in on top rope to practice placing gear while climbing. After the climb, I got immediate feedback from Grant on my placements. We talked through why I placed certain pieces and we took time to inspect the gear and see if there were any other options available.
Finally, we climbed a few pitches to make our way to the excellent hand crack Critter Crack! I was thrilled to get on this. Critter Crack got me psyched on leading cracks.
How to prepare
The best way to prepare for the course is to go rock climbing, but also to reflect on areas you want to improve on. I was, am, and probably always will be terrified of falling while on a lead climb. I knew that this was something I wanted to go over during the course. Going into the course this was one of the rock skills I wanted to improve on. I made a note to Grant that I wanted to address this.
To make sure I was physically ready, I did some climbing at the gym. I didn’t go through a crazy training regimen, but I did climb enough to ensure I had the endurance for back-to-back climbing days.

Practicing mock lead climbs while on top rope.
What gear to bring
One of my favorite parts about climbing with a climbing guide is trying out their preferred gear! During my course, I finally got my hands on the ultralight C4 cams from Black Diamond!
Your guide will have everything necessary for the course, but I still recommend bringing your personal climbing gear. You can build familiarity with your own gear you already have and will be climbing with after the course is done. On the first day of the course, you and your guide will review all of the gear you brought and identify what is needed for the objectives for the day. Anything missing will be supplemented by your guide. This is also a great opportunity to learn about other traditional gear that is available.
I also kept my cell phone handy so I could take notes and pictures. During the course, we went over cams, climbing nuts, and tricam placements, evaluating rock quality, and a few anchor efficiencies. During these lessons, I took a quick second to jot down a note and take a picture with my phone. Taking a glance at my notes solidified these concepts and I still use them to this day while climbing.
First Trad Rack
If you’re just getting into trad climbing, it seems like there is an endless possibility of gear that you can use. I recommend the following for a first trad rack to get you started:
Black Diamond Cams .3 -3 inches
#4 - #10 Black Diamond Stoppers
Trango Phase Alpine Draw Pack
This is a great base set of gear to get you started and will serve you well as you learn to lead trad. It’s common for both you and your partner to combine your trad racks when climbing. Before each climb, you and your climbing partner will go over the route, gear needed, and the gear you have.
If you’re looking to make a few upgrades to the gear we mentioned above, I recommend this for an upgraded first trad rack:
Black Diamond Ultralight or Wild Country Cams .3 -3 inches
DMM Wallnut (complete set) and the DMM Offset nut set
CAMP Tricam Set
Trango Phase Alpine Draw Pack
Not all of the above gear is necessary, but these are a few ideas for some rack upgrades you can make. I’m a huge fan of the DMM nuts because of their design. They excel in irregular placements thanks to the grooves and contours in the head of the nuts.
Until I first took the trad climbing course, I was on the fence about tricams. But I learned how they work and specific placements where they excel. Tricams have become an integral part of my rack for building anchors. I can save a cam for the free climbing by using a tricam when setting up a gear anchor.
Ask Questions
Take some time before your course to think about questions you have about trad climbing. You’re going to pick up a lot of tips just from climbing with the guide, but it’ll feel like drinking from the firehose. Don’t be afraid to ask questions, ask for instructions to be repeated, or ask for a moment to think through things yourselves.
I picked up a copy of The Freedom of the Hills and devoured the climbing content within that textbook. But I noticed that I had a hard time remembering what the book told me. The book had a lot of detailed explanations about anchors, but I really needed hands-on experience to understand the concepts.
After reading, I made a note to myself to ask my guide about anchor evaluation. Grant and I spent some time near the cave at Seneca Rocks going over the ins and outs of anchor evaluation before we went to go practice on Gunsight to South Peak!

But the most unexpected benefit of my trad course was practicing my modeling poses for two days. Here I am in the Gunsight Notch giving Zoolander a run for his money!
If you're interested in taking your climbing to the next level, sign up here for a trad climbing course!